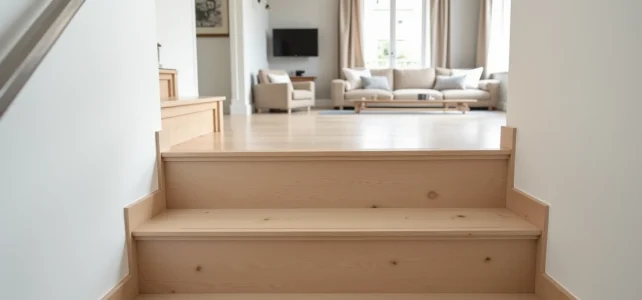
A creaky wooden staircase, with peeling varnish or a style that clashes with the rest of the room, presents a concrete problem for interior renovation. Stair cladding allows you to cover the existing structure without dismantling it, by installing a new covering on the treads, risers, and nosing. The choice of material, the preparation of the substrate, and the method of fixing determine the durability of the result as much as its appearance.
Dry installation or glued installation: what changes for the cladding’s durability
Before choosing a covering, the technical question that arises concerns the method of fixing. There are two main approaches: dry installation (screwing, clipping, or spot gluing) and full gluing. Each has different constraints depending on the substrate.
See also : How to Retrieve JCDecaux Bus Shelter Posters: Practical and Legal Tips to Know
Dry installation is suitable for wooden stairs with a sound structure. It allows for later dismantling and limits damage if the covering needs to be replaced. The cladding kits sold in DIY stores are based on this principle, with cuttable treads and integrated anti-slip profiles. These systems are compatible with concrete, existing tiles, or wood.
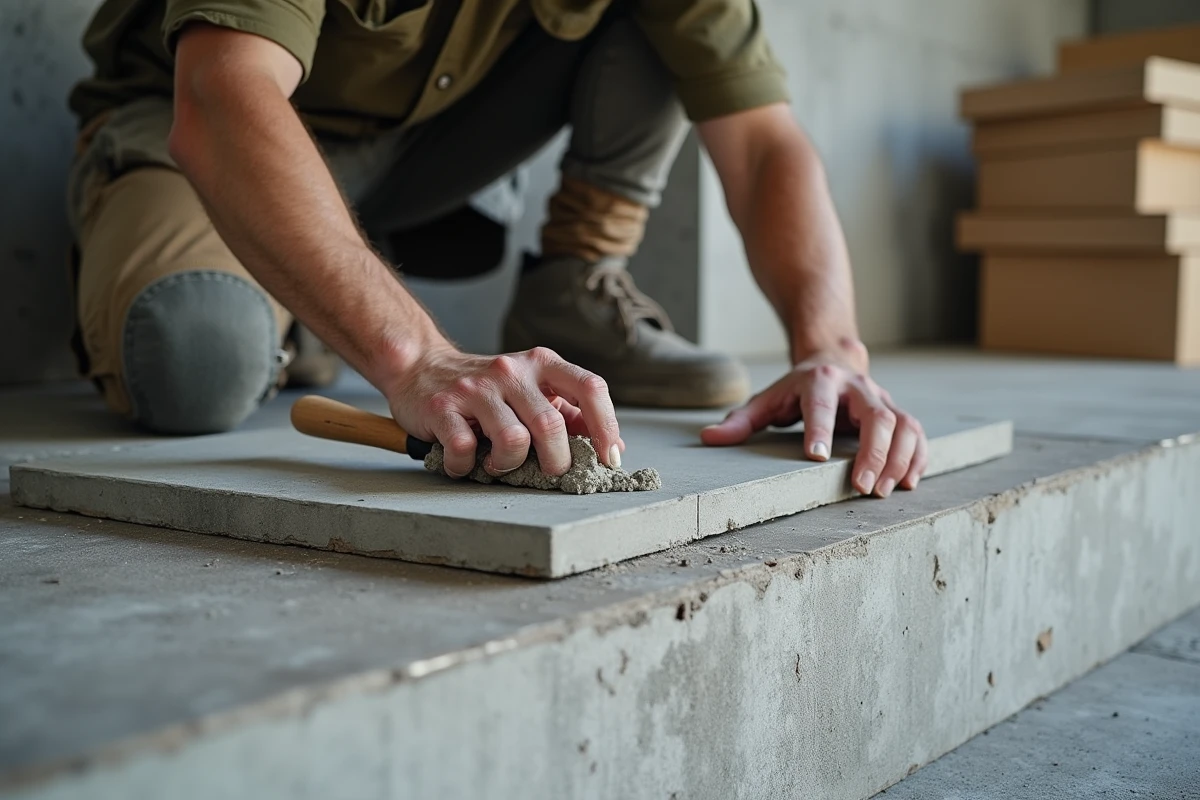
Full gluing offers better adhesion on concrete or tiled stairs, but it makes any removal destructive. On an old substrate, leveling or prior sanding becomes necessary to ensure adhesion. To explore the techniques suitable for each substrate, the resources from Conseil Habitat detail common scenarios.
You may also like : How to Simplify Your Connection to the ENT: Practical Solutions and Tech Tips
A common pitfall: gluing a flexible covering on a wooden staircase that expands and contracts with seasonal humidity. The material peels off at the corners within a few months. For wood, semi-rigid installation with screwing remains the most reliable.
LVT vinyl vs laminate: two distinct stair coverings
High-resistance laminate and LVT vinyl dominate the market for interior stair cladding. They look similar visually, but their properties differ on points that matter in daily use.
LVT vinyl is waterproof, flexible, and naturally anti-slip. It absorbs footstep noise better than rigid laminate. Its reduced thickness (a few millimeters) facilitates installation on treads with tight dimensions, where a thicker laminate could noticeably alter the riser height.
Laminate, on the other hand, offers superior surface hardness. AC4-rated or higher ranges resist impacts and scratches in high-traffic areas. The choice of finishes exceeds twenty designs with some specialized manufacturers: oak imitation, concrete, stone, or metal.
- LVT vinyl is suitable for stairs near an entrance or kitchen, where floor moisture is frequent
- Laminate is preferable for mezzanine or upper floor stairs, in dry areas with daily traffic
- Both materials come in coordinated floor-stair ranges, with compatible nosing, which avoids unsightly joints between the landing and the treads
Field feedback varies on comparative longevity. A low-end vinyl marks more quickly than a mid-range laminate. The product’s usage class matters more than the material family.
Riser and nosing: finishes that change safety
The cladding of the treads captures all the attention, but the risers and nosing determine both the safety and the visual perception of the staircase.
Anti-slip nosing
The front overhang of each tread is the most stressed and slippery area. A nosing with an anti-slip profile reduces the risk of falling, a significant issue: falls on stairs account for 10% of domestic accidents in France according to INPES. Models with integrated LED combine night marking and safety, a recently introduced option in renovation catalogs.
Decorative riser
Playing with contrast between tread and riser has become a common decor code. A tread in light oak decor paired with a white or black riser creates a visual depth that a uniform covering does not produce. The light-dark contrast between tread and riser visually structures the staircase.
Riser height and standards: the technical point to check before installation
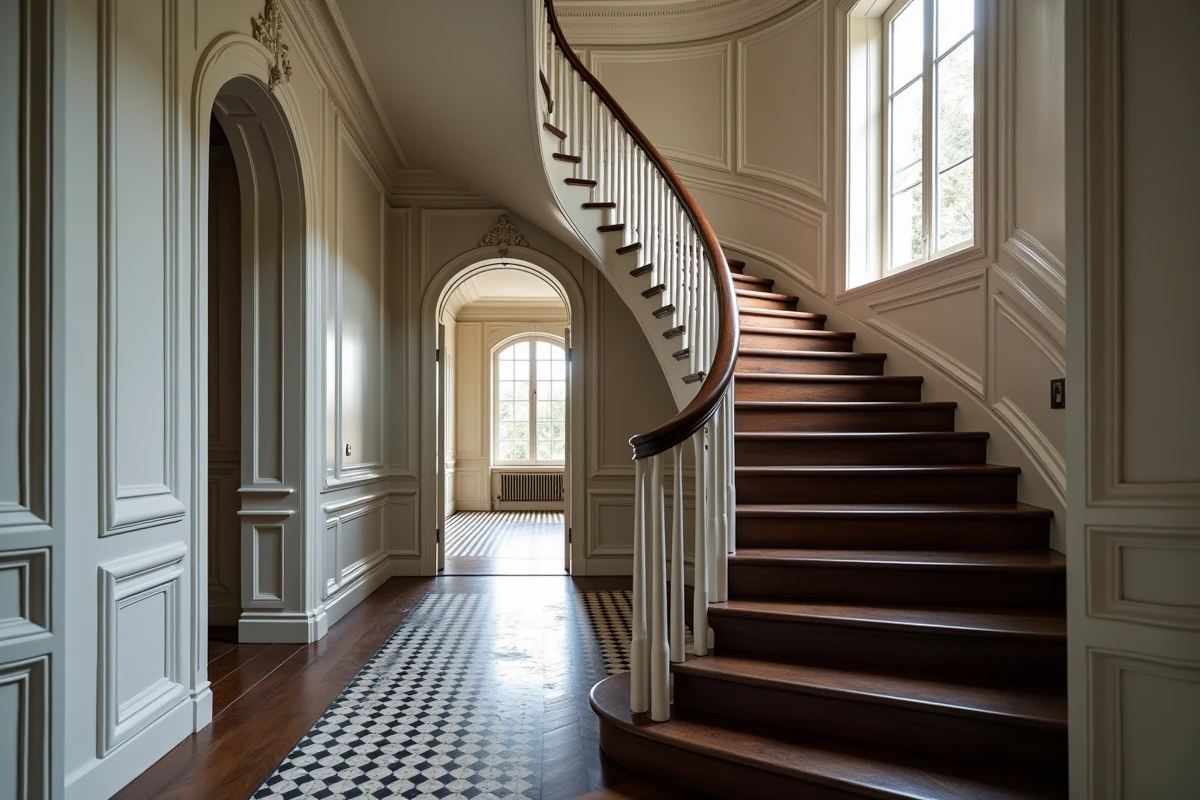
Adding a covering to an existing tread increases its height. On a staircase with already limited dimensions, a few extra millimeters per tread can alter comfort of use and may pose a compliance issue.
The NF P01-012 standard recommends a riser height between 16 and 21 cm for a comfortable and safe staircase. An 8 mm thick cladding on each tread, multiplied by about ten treads, adds almost a centimeter to the total height of the staircase. The first and last treads become the most sensitive: a height difference with the landing is immediately felt underfoot.
Before any installation, measure the height of each riser and ensure that the chosen covering does not push the staircase out of the recommended range. Flexible coverings like LVT vinyl, thinner than laminates, offer a concrete mechanical advantage here.
- Measure each tread individually: old stairs often show height variations from one tread to another
- Plan for a nosing whose thickness is included in the overall calculation
- On a concrete staircase covered with tiles, removing the old covering before cladding allows for recovering some margin
A successful stair cladding depends as much on the calculation of dimensions as on the choice of decor. Checking the riser height before purchasing any material avoids ending up with a technically uncomfortable staircase, even if it is visually appealing. The most durable renovation is one that respects the constraints of the existing substrate rather than ignoring them under a layer of covering.